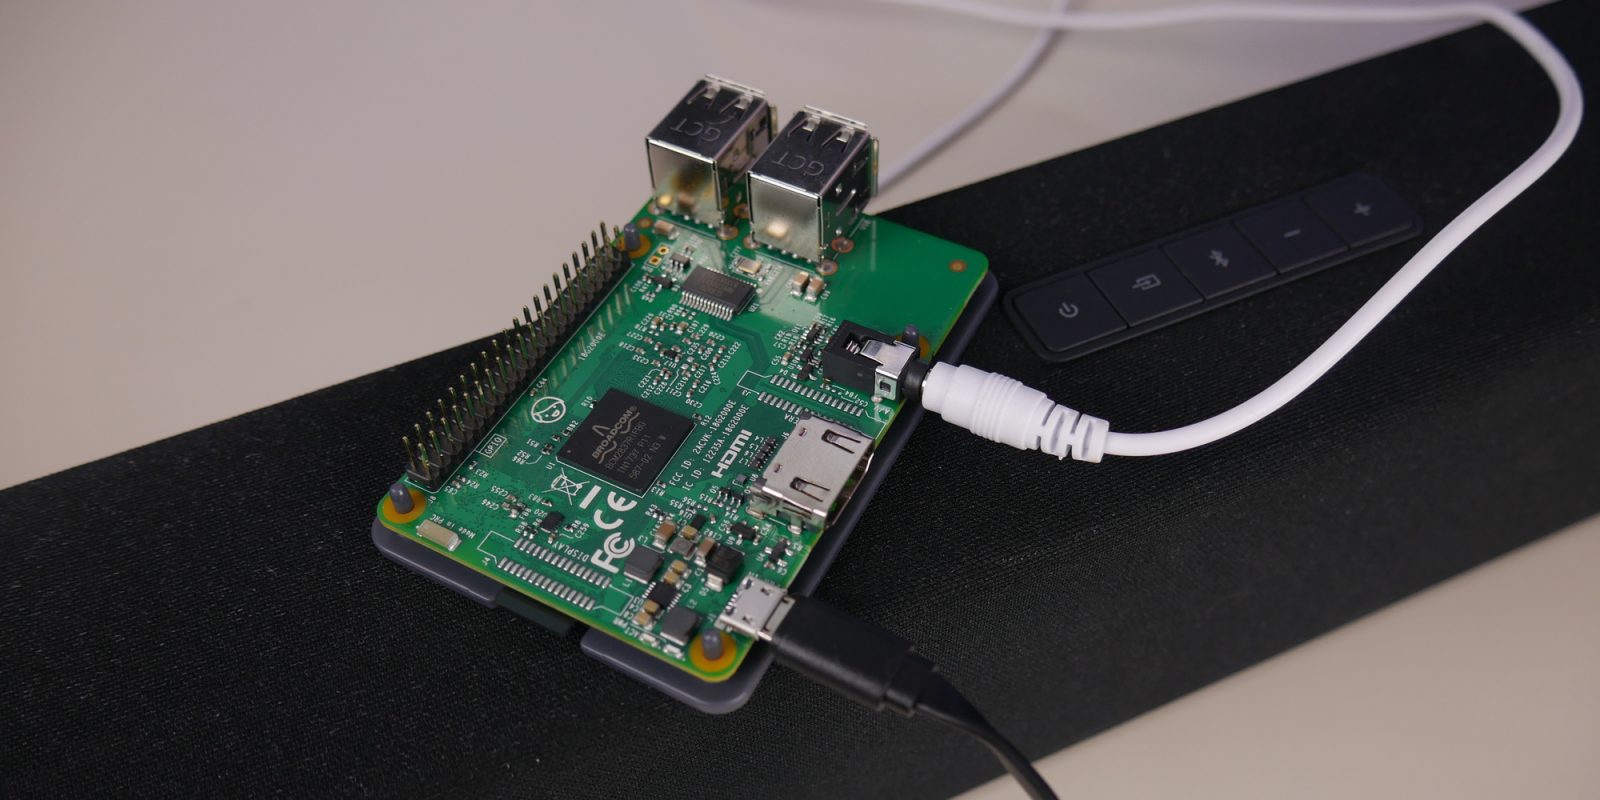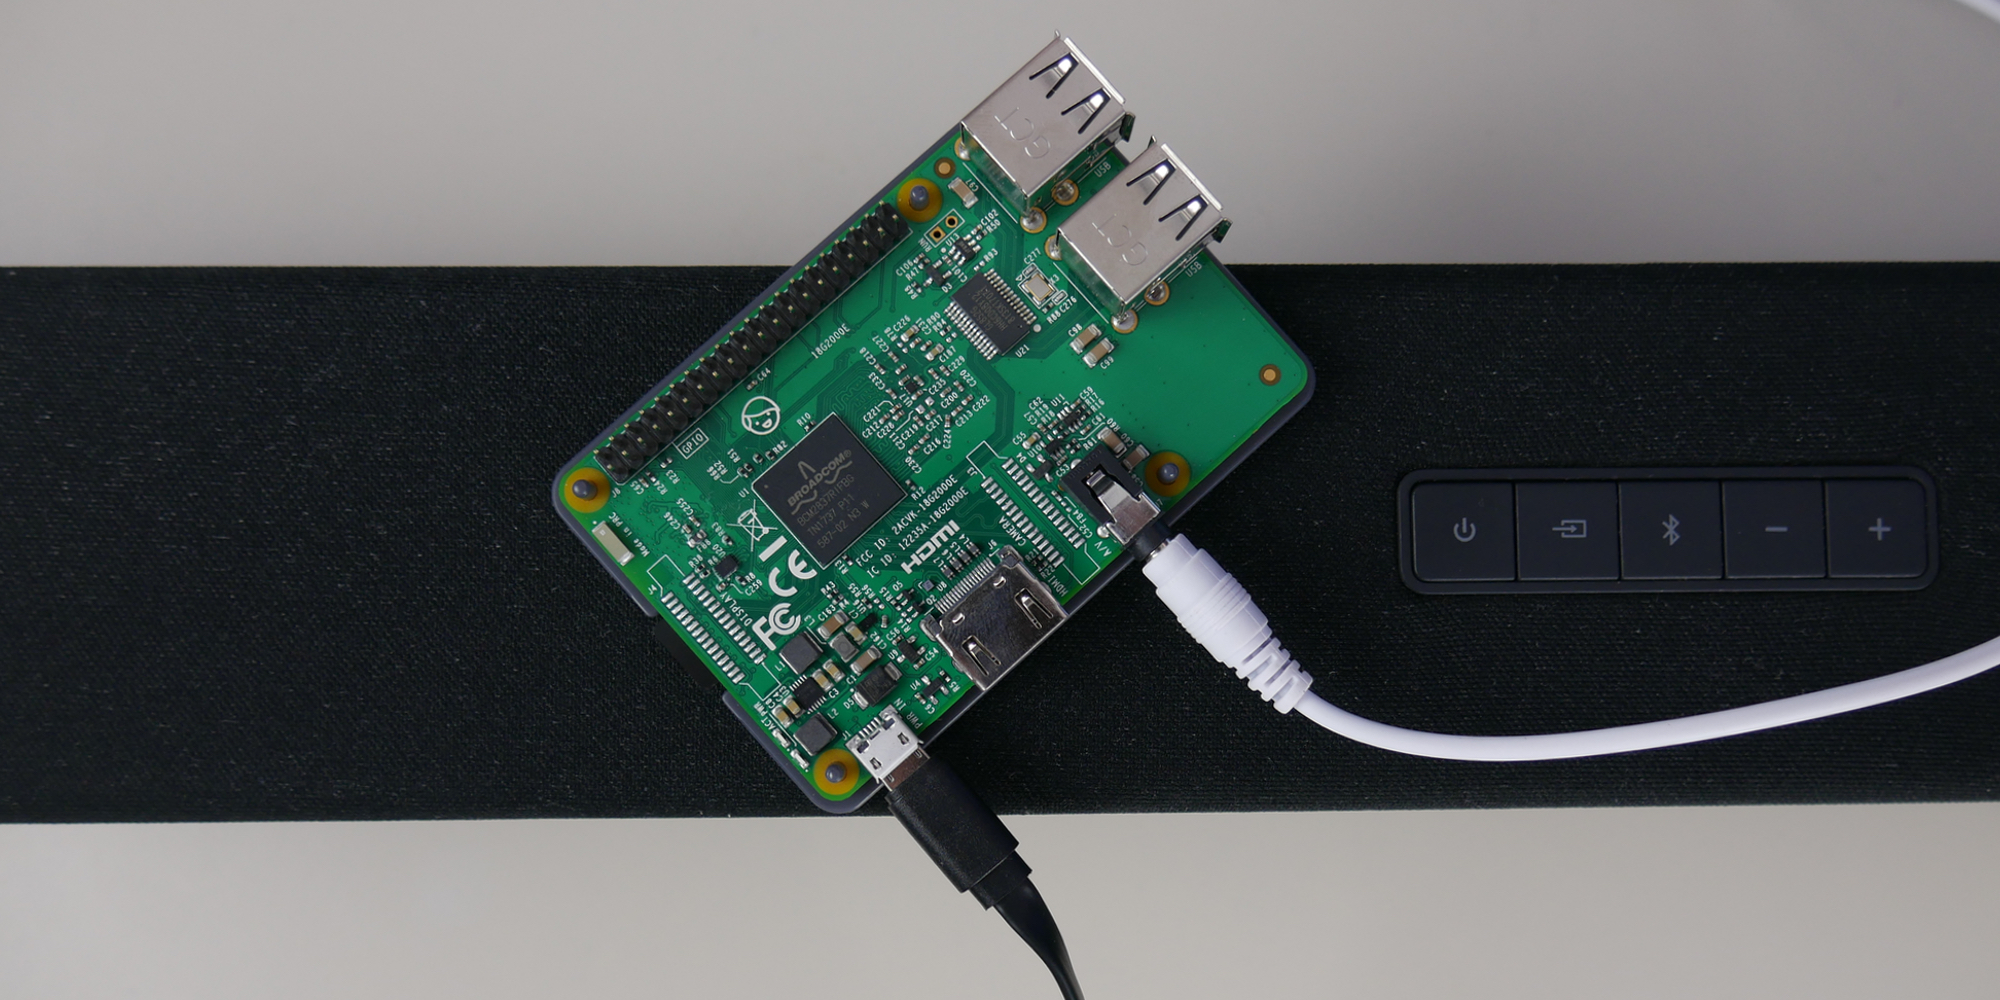
Raspberry Pi is one of the more popular gifts for tech fans to receive over the holidays. And it’s pretty easy to see why; they can be configured to do just about anything. But if that world of possibilities still has you stumped on how to put the miniature device to work, an easy recommendation is to leverage it as an AirPlay Receiver. Head below for a full rundown on how to imbue your favorite pair of speakers with AirPlay functionality.
Make Raspberry Pi into an AirPlay receiver
With Apple having officially discontinued its line of AirPort routers, including the AirPlay-enabled AirPort Express, using a Raspberry Pi to fill the gap has become an even more appealing option. There’s a reliable third-party community that regularly updates the open-sourced software, so you’ll be covered for the foreseeable future as well.
Before you get started, there are a few things you’ll need. Most importantly is the Raspberry Pi itself. I personally recommend the Raspberry Pi 3 B+ model, though any of the Pi 3 should do the trick here. You’ll also need a power supply, micro SD card and a keyboard, mouse and display.
If you’re starting from scratch, CanaKit makes some great bundles starting at around $55 that include just about everything you’ll need.

Unfortunately there are some limitations here, the main one being a lack of AirPlay 2 support. The entire reason that we can leverage a non-Apple certified device like a Raspberry Pi to act as an AirPlay receiver is because the standard was reverse-engineered back in 2011. But with AirPlay 2 being so new, there hasn’t been much headway in cracking Apple’s lock.
Step One: Prepare the micro SD Card
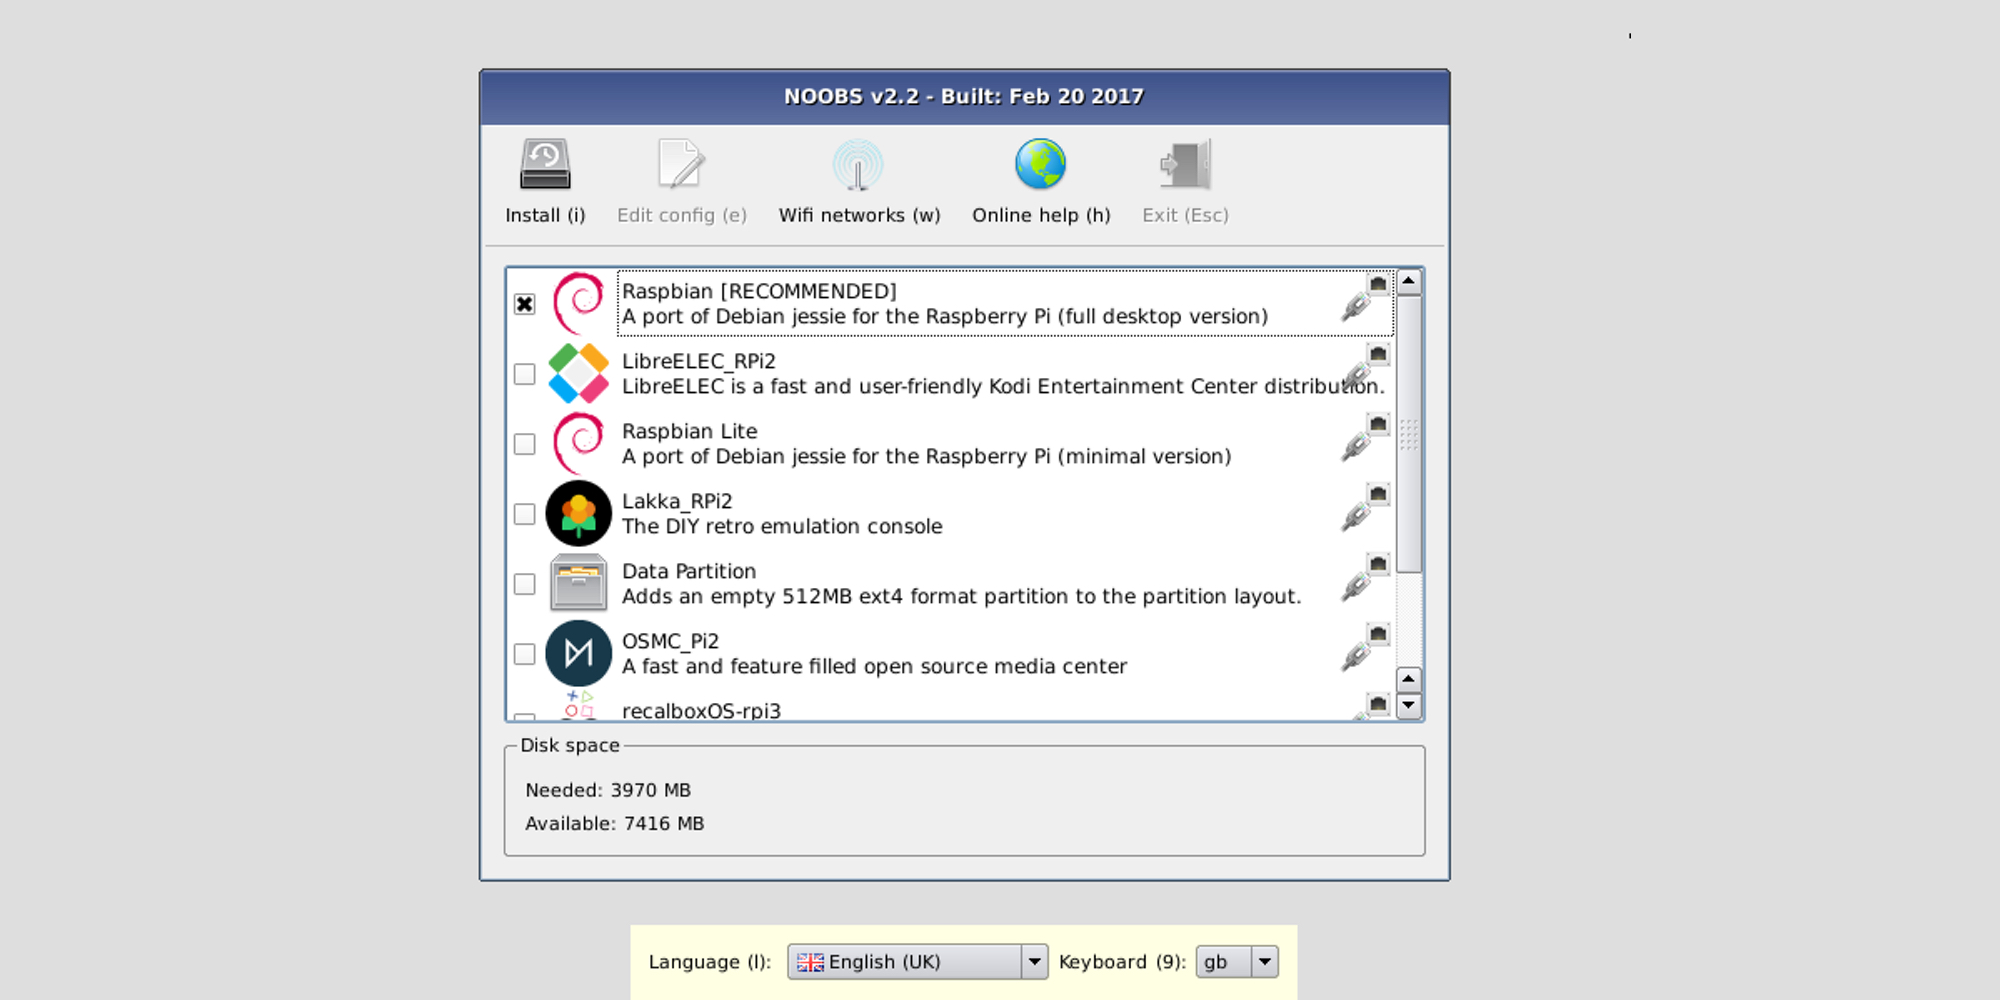
The first step in getting everything setup is preparing the microSD card. Insert it into your computer and fire up Disk Utility if you’re using a Mac or File Explorer on Windows and make sure to format it as FAT32. Next, you’ll need to download NOOBS Lite from Raspberry Pi, which is a lightweight version of its operating system that’s ideal for applications like we’re tackling today.
With the operating system downloaded, copy all of the files right onto the SD card. You can get a more in-depth walkthrough on this portion of the process here, should you need it. Alternatively, there’s a handy utility called ApplePi-Baker that handles most of the hard work for you.

Step Two: Configuring the Operating System
Now that you’ve gotten everything taken care of with the microSD card, you can begin setting everything up. For this step, you’ll need to temporarily connect the Pi to a display as well as a keyboard and mouse. With the card inserted into your Raspberry Pi, boot the device up and follow the on-screen prompts to Raspbian Lite.
Once everything is done installing, it’ll boot into the OS. Go ahead and connect it to your home Wi-Fi or hardwire it with an Ethernet port. You can also change the name that your receiver will show up as by heading to Settings, then Advanced Options and then editing the Hostname.
Step Three: Download and Setup
Now it’s time to install Shairport-Sync, the software that will actually handle the AirPlay functionality. There are two main commands that you’ll need to run on the Pi’s via its Terminal application. The first is sudo apt-get upgrade which effectively refreshes the list of available repositories to download. Once that process finishes up, you’ll run sudo apt-get install shairport-sync. This actually downloads Shairport-Sync to your Raspberry Pi.
With everything in place, we can begin getting everything setup. First run the following commands which configure the AirPlay software.
cd shairport-sync
autoreconf -i -f
./configure –with-alsa –with-avahi –with-ssl=openssl –with-systemd –with-metadata
Follow those commands up by running make, which may take a little bit of time to finish executing and then sudo make install which compiles all of the changes we just made. Lastly, there are two final commands to run, which will automatically start the Shairport-Sync program when the Raspberry Pi turns on.
sudo systemctl enable shairport-sync
sudo service shairport-sync start
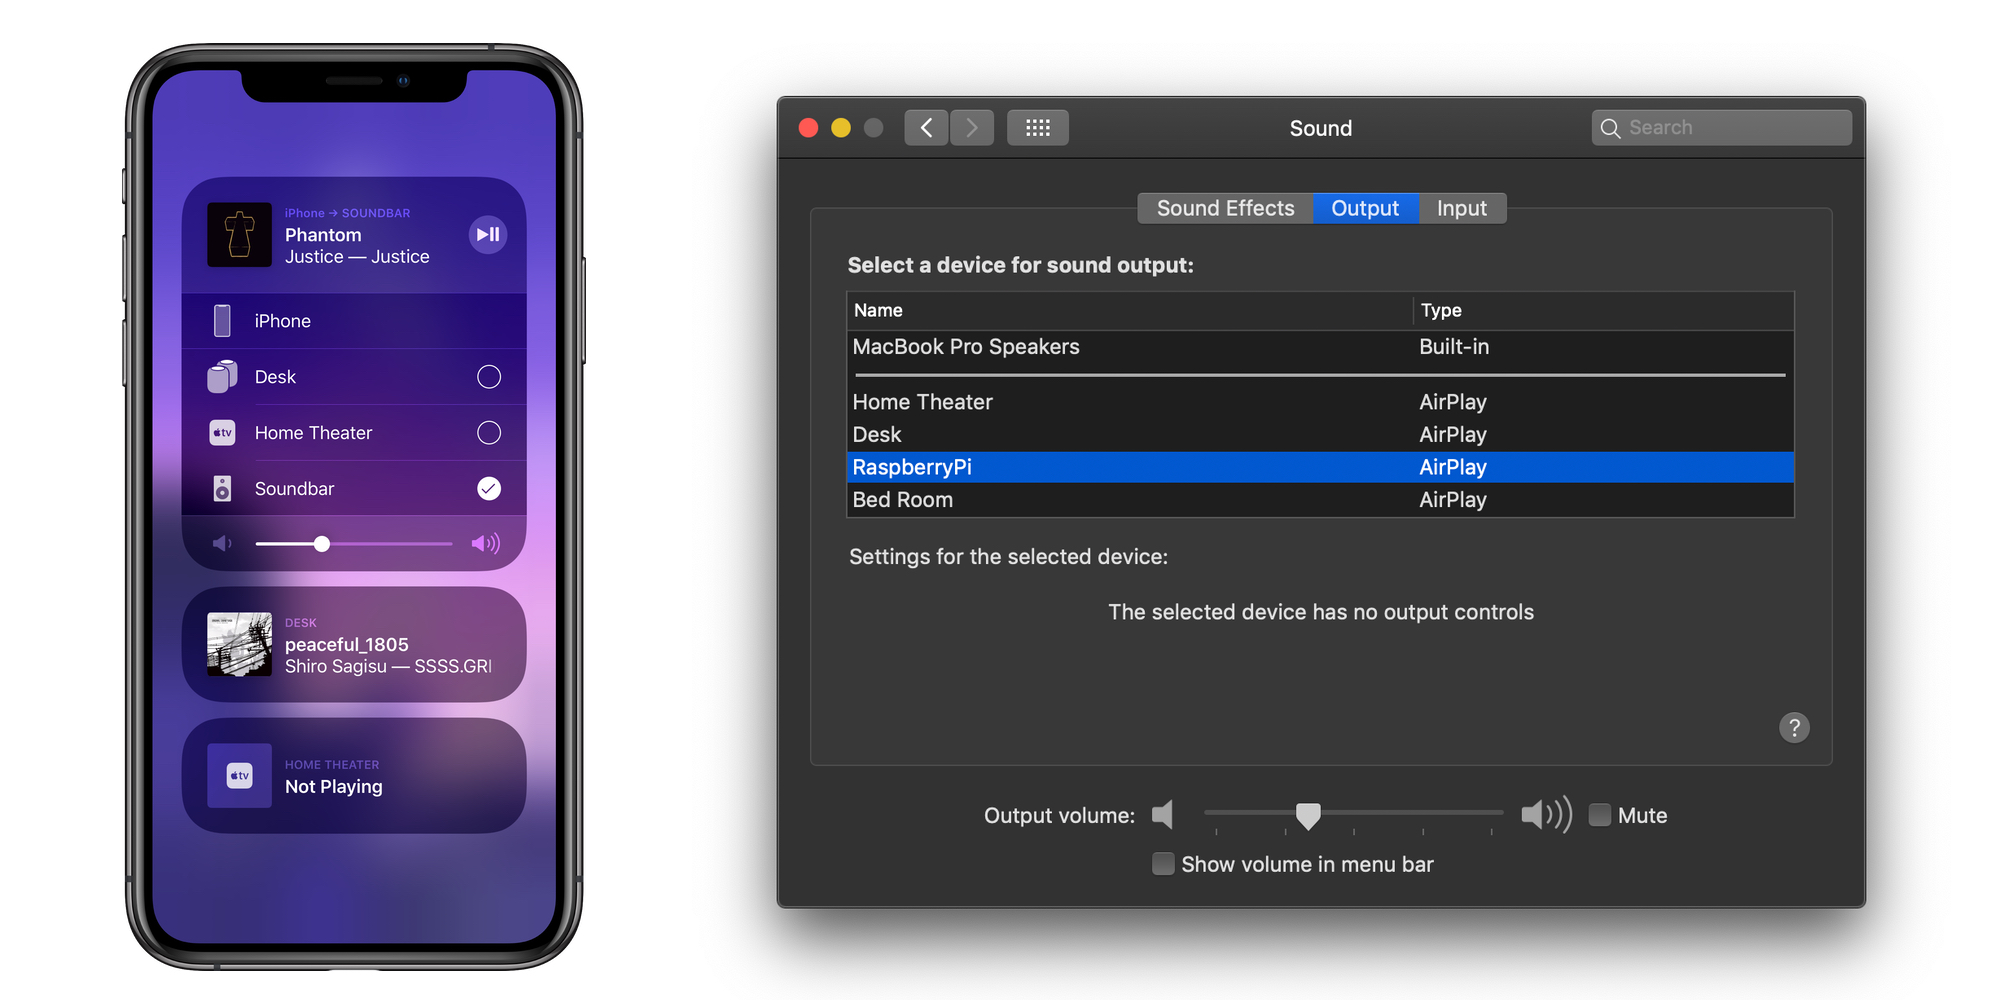
Now when you open the AirPlay sources on your iPhone or other device, you should see the newly configured Raspberry Pi as an option to AirPlay to.

Improving your audio quality:
Now that you’ve got everything installed, there are a few different changes you can make.
Depending on the speakers you plan on pairing with the Raspberry Pi, you may want to ditch the device’s built-in headphone jack. It’s fine for lower-end systems or soundbars, but Hi-Fi speaker setups will definitely benefit from introducing a USB DAC into the mix. It all depends on your end goal, but there are a variety of options at Amazon to choose from. One notable model is the $22 Signstek HI-FI USB DAC, which works with a few different audio outputs.
If this is the route you’d like to take, head back to the Terminal program on your Pi and run sudo nano /etc/modprobe.d/alsa-base.conf. Then make sure that the settings are as follows:
# sets the index value of the cards but doesn’t reorder.
options snd_usb_audio index=0
options snd_bcm2835 index=1
# does the reordering.
options snd slots=snd_usb_audio,snd_bcm2835
Save that, and the Raspberry Pi should now default the audio output to your USB DAC of choice. Let us know how things went for you in the comments below and be sure to tell us what speakers you’ve opted to your connect to your Raspberry Pi AirPlay Receiver.
FTC: We use income earning auto affiliate links. More.


Comments