
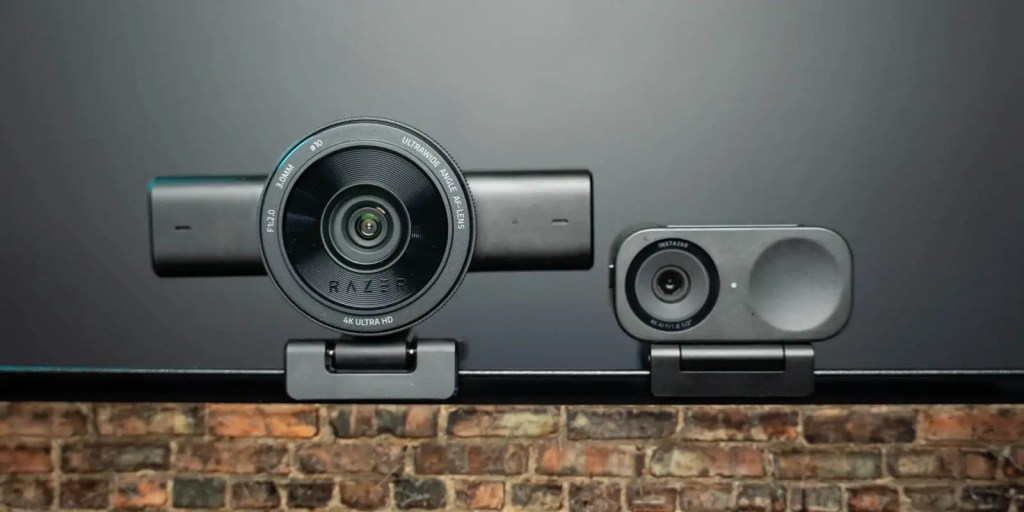
Dust off your kitty ears and turn your Razer Chroma up to 11, because the new Razer Kiyo V2 is here and is ready to capture video in 4 K at 30fps with AI controls. But the market has gotten busier since Razer’s last entrant into the webcam space. Insta360 has been innovating with the Link 2 and Link 2C, which raises my biggest question for the Kiyo V2: “Is it enough?” We’ll run through all the features and find out.
Coming in at $150, the Kiyo V2 is a direct price competitor to the Insta360 Link 2C. Both can do 4K, have some AI controls, and boast ease of use with intuitive auto features.
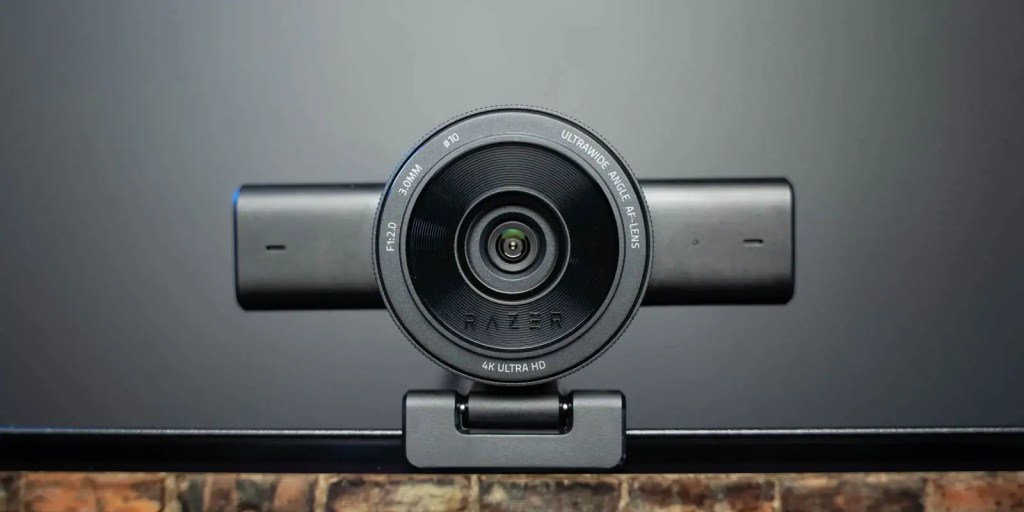
Design
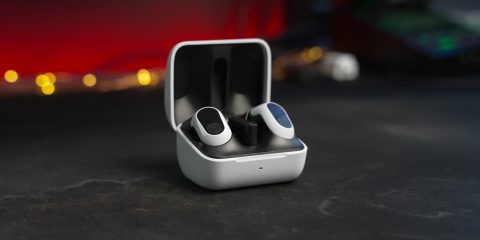
The design is a departure from the Kiyo Pro‘s larger, round body design. The Kiyo V2 has a large rectangle that holds the microphones and a smaller round apparatus.
The main camera ring can be turned to engage a privacy shutter to cover up the lens when the camera is not in use. This is maybe my favorite design feature. It could be made into a stand-alone fidget – it feels so good to engage and disengage the privacy shutter with a very satisfying click.
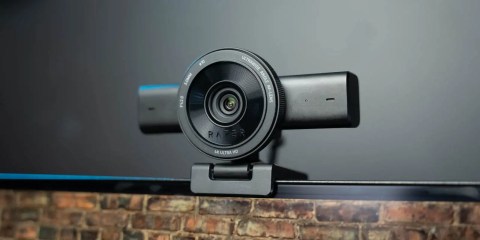
On the back is a single USB-C port, and underneath is the universal mount. The mount can be adjusted to fit different monitors, and the camera itself can be turned and tilted to frame up the subject, and it hides a threaded tripod mount on the bottom.

The drawback of this mount
Now, here’s the biggest issue I have with this Kiyo design and the Link 2C. If your setup shakes at all – desk, monitor, or tripod, all of that movement gets transferred into the camera and your stream.
That’s what makes the flagship Link 2 so good – the camera is gimbal-mounted, allowing for physical panning and tilting, and it also stabilizes the camera to eliminate shake. But that’s $50 more. To me, that makes it the best choice for streaming webcams, but that’s not really a fair comparison when the Link 2C comes in at the same $150 price as the Kiyo V2 and has the same mounting features.
Razer Kiyo V2: Quick Specs
- 4k 30FPS, 1440 30FPS, 1080 60 FPS, or 720 FPS.
- 8.3 MP Sony Starvis sensor
- 93-degree FOV
Razer Kiyo V2: Video
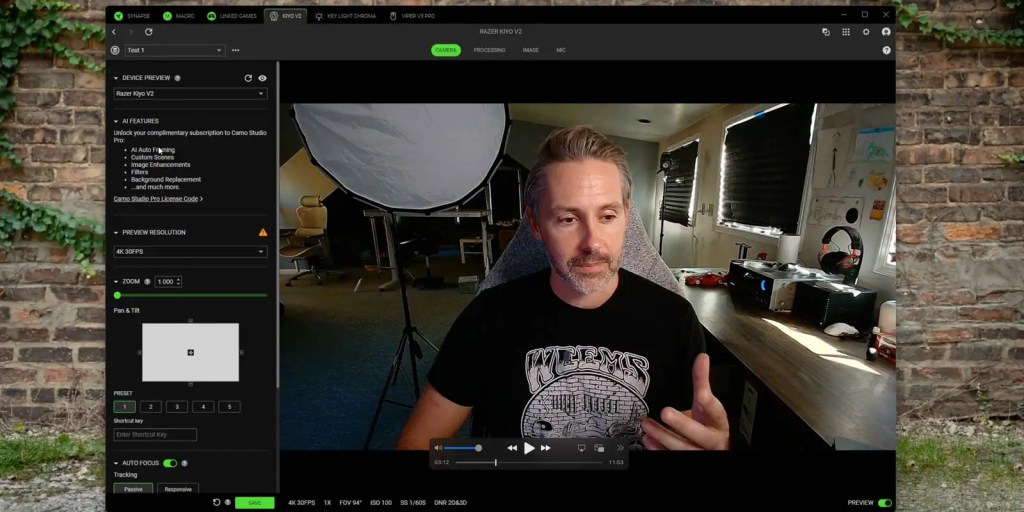
In-depth controls: Synapse 4
Razer’s Synapse 4 has quite a few controls built in by default for the Kiyo V2.
You can select your resolution and frame rate, adjust zoom, pan, and tilt, and set preset shortcuts for quickly switching between different camera setups.
Manual or autofocus, auto exposure with a focus on average, center of the screen, or tracking a face, with a compensation slider to brighten or darken the image, all help to dial in the camera to your specific needs.
The processing tab provides controls for quality, including HDR, lowlight compensation, and noise reduction.
The image tab gives deep controls for adjusting brightness, contrast, saturation and white balance, but I haven’t found the need to adjust those at all.
And that’s what Razer is aiming for with the Kiyo V2. They want the deep controls available, but they also want it to give a great image right out of the box with auto settings… and so far, it seems to do that pretty well.
Razer Kiyo V2: Camo AI control
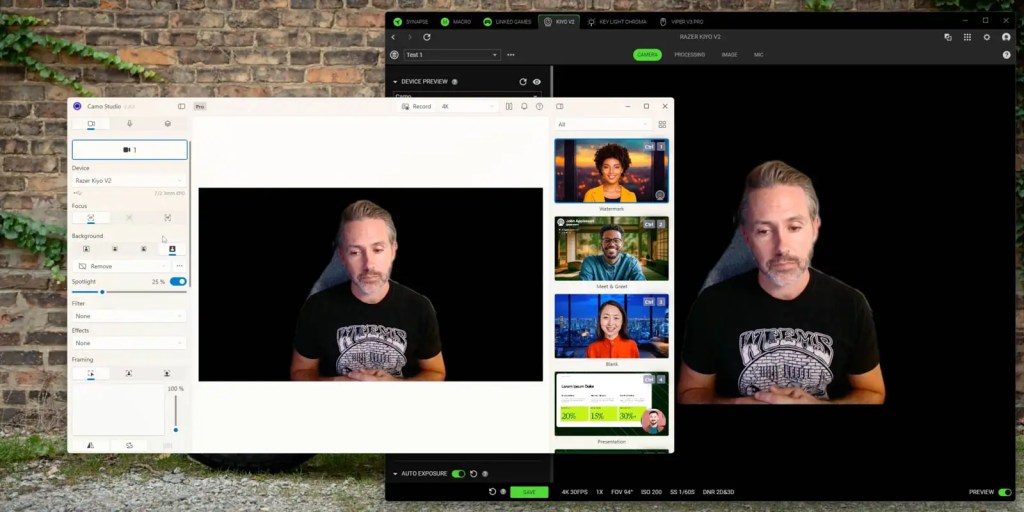
Camo is a standalone software that is usually $50/yr for the pro version, but a license is included with the Kiyo V2. That keeps Razer from developing it themselves, but it does mean you have to download and install Camo to take advantage of its AI offerings.
Among those offerings are auto zoom and pan framing, filters and effects, and even background blurring and removal.
Background removal seems to work okay, but it’s not quite as sharp as Nvidia’s Broadcast Studio, in my experience. There are more fuzzy edges in Camo, and it doesn’t update as quickly. But if you don’t have an Nvidia card, Camo helps to make that possible.
And for all the Mac users out there, Synapse works on macOS, but currently, the Kiyo V2 isn’t supported. We’ll have to stay locked to Razer’s socials for updates on the functionality here.
Video Performance
Razer advertises a one-click mode for the Kiyo V2, which I can’t really find. But each value seems to have an auto mode that works very well in my experience.
What makes the most significant difference in my setup is changing the auto exposure from average to face.
Average will sample the exposure of the entire scene, while selecting face prioritizes the exposure of, you guessed it, your face!
This was the best way to achieve a natural-looking light, even with a darker background.
Now, keep in mind that lighting is probably more important than your camera if you’re aiming for a stream-ready image.
I’m using the Razer Key Light chroma turned down to 10% to just add some key light, which makes a huge difference. Otherwise, my face is lit by my screens underneath and blocked windows beside and behind me.
Make sure you have some decent lighting – it will make the most significant difference to your image.
HDR
HDR makes a significant difference, adding great contrast to the image. Without it, everything feels a little flat in comparison.
You can regain some of that contrast by increasing the contrast in the image tab, but it appears to be over-sharpened and doesn’t produce as nice an image as the HDR mode.
Low Light
When things get really dark, the Razer Kiyo V2 can keep the lights on your face, but the Link 2C did it better.
The Link’s image was cleaner and brighter than the images from the Kiyo V2. I thought the Link was maybe even over-exposed but either way it looked better than the Kiyo V2 when the only light in my room was my monitor.

Autofocus?
In my experience, Razer’s webcams have always had a bit of trouble with auto focus. It seems like they have to hunt more than I would like – moving beyond and in front of the actual subject repeatedly until they find the sweet spot. That seems to be an issue on the Kiyo V2 still, unfortunately. If you plan on showing things off in front of the camera often, you may need to keep an eye on your focus.
Razer Kiyo V2: Audio
Beyond video, the Kiyo V2 does, of course, record audio as well. If you’re just using a webcam the onboard mic should be fine but if you are doing any sort of content creation for streaming or recording videos, you should get an external microphone.
My best budget recommendation is the HyperX Solocast. I did a whole series on that budget-friendly mic that you can upgrade to mitigate some of its shortcomings.
The Kiyo V2 sounds good, but it picks up plenty of room noise. When I test it typing and talking at the same time, the keyboard comes through just as clear as my voice.
With Crystal Clear Voice disabled, the audio signal is stereo. As you move around, the audio will follow you.
gadgetnewsonline’ Take
After spending a few days comparing the Kiyo V2 and the Link 2C, they both have their pros and cons.
Kiyo V2 had the better-looking color and exposure, but struggled more in low light and had a harder time adjusting focus than the Link 2C.
The Link 2C was also able to mitigate some of that shaking from the mount more than the Kiyo V2.
It comes down to how you’ll use the cameras. Personally, I prefer the color of the Kiyo V2 enough that, between the two, I would sacrifice near-dark and autofocus performance for the better exposure and skin tones from the Kiyo V2.
I would be curious about Razer’s more budget-friendly Kiyo V2 X as well. At just $100, it can do resolutions up to 1440p and foregoes the AI features of Camo for a cheaper entry point.
Buy Razer Kiyo V2
FTC: We use income earning auto affiliate links. More.


Comments